How to Read a Topo Map for Deer Hunting
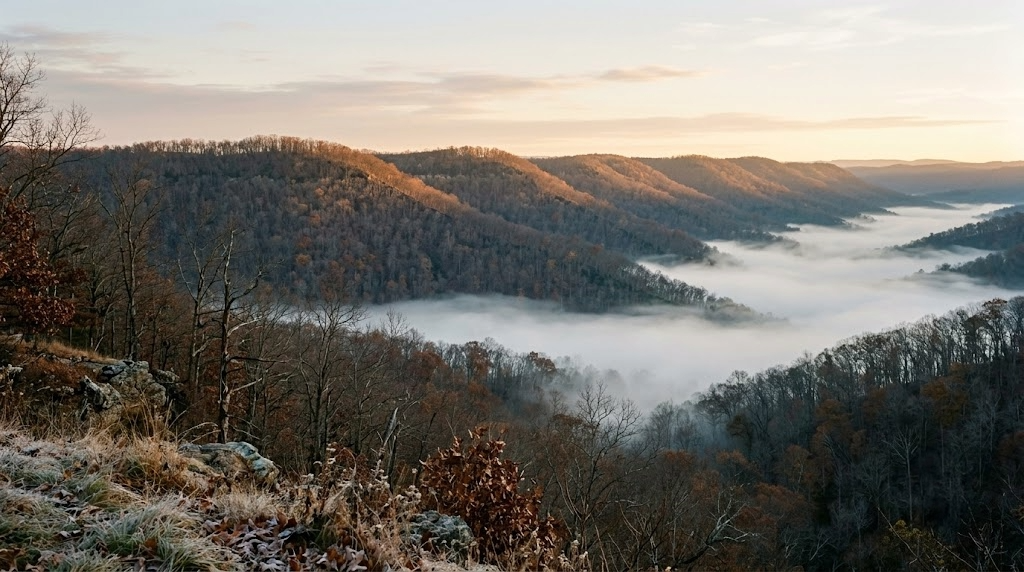
Most hunters open a mapping app, stare at the squiggly brown lines for thirty seconds, and switch back to the aerial view. That's a mistake. Learning how to read a topo map for deer hunting is the single biggest shortcut to finding bucks on ground you've never walked. Deer movement is driven more by terrain than by any other factor, and terrain doesn't change from year to year. Once you can look at contour lines and see a bench, a saddle, or a pinch point in your head, you can break down a new property in twenty minutes instead of twenty hours of boot leather. I've been doing this for over 25 years across Michigan, Ohio, and Kentucky, and the map work I do in July still kills more deer than anything I do in November.
How to Read a Topo Map for Deer Hunting: The Core Concept
A topographic map shows elevation using contour lines. Every line represents a set change in elevation, called the contour interval. Lines packed tight together mean steep ground. Lines spread far apart mean flat ground. That's the whole language. Everything else is vocabulary.
Here's why this matters for deer. Whitetails are lazy in the smartest possible way. They burn as few calories as they can, they travel where terrain funnels them, and they bed where terrain protects them. Steep ground pushes movement. Gentle ground collects it. When you learn to spot the specific shapes that concentrate deer travel, you stop hunting random woods and start hunting the ten percent of the property where deer are forced to walk.
The Walkthrough: From Contour Lines to Stand Sites
Step 1: Check the Contour Interval First
Before you interpret anything, find the contour interval, usually printed in the map legend or in your app's settings. A 10-foot interval and a 40-foot interval paint very different pictures with the same number of lines. In southwest Michigan, where we manage our property, a 10-foot interval shows subtle rises that matter. In southern Ohio's hill country, a 20- or 40-foot interval is common because elevation swings are large. If you skip this step, a gentle Michigan knob and an Ohio cliff face can look identical on your screen.
Step 2: Find the Saddles
A saddle is a low spot along a ridgeline, and on the map you'll see hourglass-shaped contour lines pinching between two high points. Deer cross ridges at saddles because they lose less elevation doing it. During the rut, cruising bucks run ridge systems checking bedding pockets, and every one of them drops through the saddles. Circle every saddle on the property before you look at anything else.
Step 3: Mark the Benches
A bench is a flat shelf on the side of a hill. On the map, look for a spot where tight contour lines suddenly spread apart partway down a slope, then tighten again below. Benches are bedding gold, especially benches on the leeward side of a ridge where a buck can put the wind at his back and watch downhill with his eyes. A bench a third of the way down from the ridgetop, facing away from the prevailing wind, is one of the most reliable buck bedding setups in hill country anywhere in the country.
Step 4: Trace the Points and Spurs
A point or spur appears as contour lines forming a U- or V-shape that push away from the main ridge. Bucks bed on the ends of points because thermals pull scent up to them in the morning and they can see below. The tip of a point with a bench just below it is a classic mature buck bed. You won't hunt the bed itself. You'll hunt the transition routes off it.
Step 5: Follow the Drainages
Contour lines forming a V that points uphill mark a drainage or ditch. Water sits at the bottom, cover grows thick along the edges, and deer use drainages as travel corridors and security exits. Where two drainages meet, or where a drainage head cuts close to a saddle, you've found a natural funnel that concentrates movement into a shootable window.
Step 6: Stack Features and Add Wind
One feature is interesting. Two or more features stacked together is a stand site. A saddle with a bench just below it on the leeward side, draining into a creek bottom, is the kind of spot that produces year after year. Now overlay wind. Ask where a deer using this feature wants his nose pointed, then ask where you can sit with your scent blowing into dead space, and finally ask how you get in without crossing his path. If you can't answer the access question, the spot doesn't matter.
A Real Scenario From the Hill Country
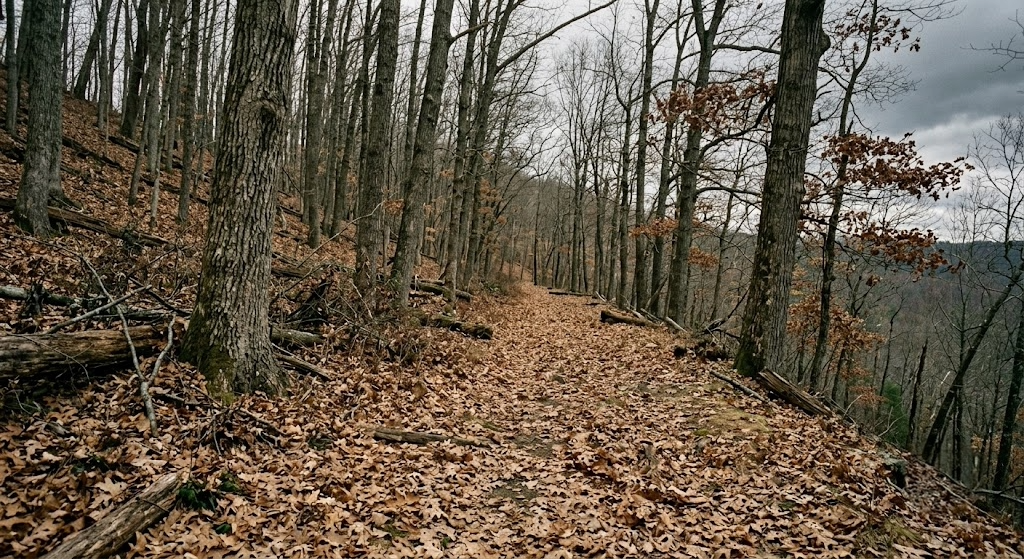
A few Novembers back, I hunted a chunk of state forest in southern Ohio I'd never set foot on. On the topo, I found a long east-west ridge with a clean saddle, and about 30 vertical feet below the saddle on the east side, the contour lines spread into a bench roughly 60 yards wide. Forecast was a northwest wind at 10 miles per hour. That made the bench leeward. Bucks bedding there would have wind coming over their backs from the ridgetop and a full view down into the creek bottom below.
I parked on the east side and walked the creek bottom in the dark, staying low so my scent stayed under the morning thermals, then climbed the last 80 yards to a white oak at the downwind edge of the bench. Rising thermals after sunrise pulled my scent uphill and away from the travel route. At 9:40 a.m., an 8-point came off the point to the south, cruising the bench scent-checking for does, quartering into a 22-yard shot. I never scouted that ridge in person. The map told me everything except which tree to climb.
When to Use a Topo Map for Deer Hunting
Topo reading earns its keep anywhere with real elevation change: the Appalachians, the Ozarks, southern Ohio and Kentucky hill country, bluff country along the Mississippi, and the West. In flat ag country like much of the Midwest, the aerial photo does more work and the topo becomes a supporting tool for finding subtle rises and ditch crossings. A 5-foot rise in flat swamp ground can be the only dry bedding for a quarter mile, and it shows on a good topo with a tight interval.
By season, terrain features shine brightest from late October through the rut, when bucks cover ground and terrain funnels their travel. Saddles and pinch points peak in early to mid November. Leeward benches matter all season for bedding but are especially predictable on cold, windy days when deer want protection. In the early season and late season, use the topo to connect bedding terrain to food, because deer move shorter distances and the route matters more than the funnel.
This works for more than whitetails. Elk hunters live and die by benches and saddles, and spring turkeys strut on ridgetop flats and fly down to benches. Terrain is terrain.
Tools and Gear You Need
You don't need much, but the right tools speed everything up.
A mapping app with topo layers. I run onX Hunt Elite on my phone and desktop. The hybrid view, which overlays contour lines on the aerial photo, is where topo reading gets fast, because you can see the bench and the oak flat sitting on it at the same time. Battery drain on long sits is the one real knock, so carry a power bank.
Desktop screen time. Do your serious map work on a big screen, not your phone in the truck. Features jump out at scale.
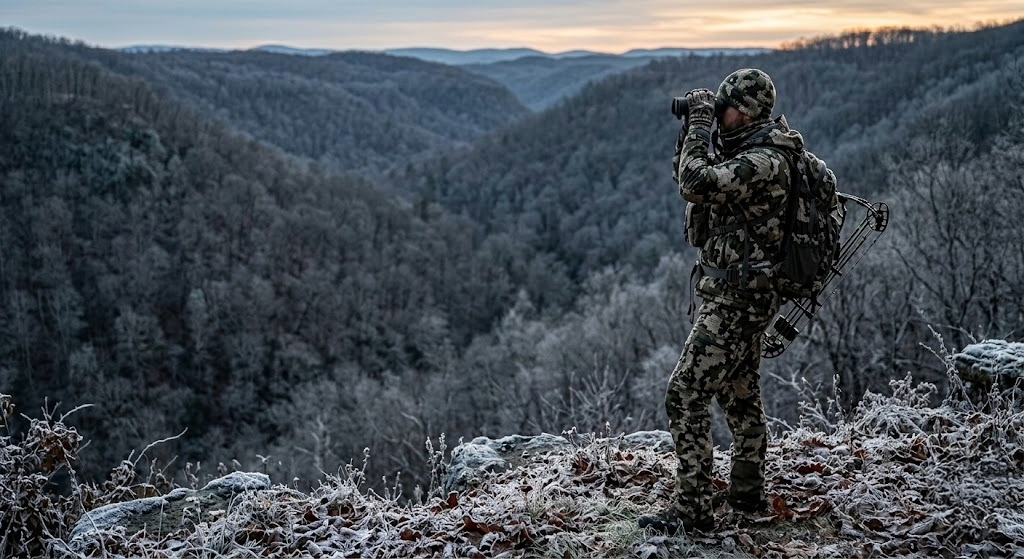
Good glass for verification. The Vortex Diamondback HD 10x42 is my public land binocular. The glass punches well above the price, and the warranty is genuinely no-questions. It's not as bright in the last ten minutes of light as glass costing three times more, but for confirming a bench or watching a saddle from a distance, it does the job.
Layering that lets you climb. Getting to leeward benches means climbing in the dark. Sweat-soaked cotton will end your morning. I covered my full system in My KUIU Kit: What I Wear for Whitetail.
What Most Hunters Get Wrong
Mistake 1: Reading Features Without Reading Scale
Hunters find a "saddle" that turns out to be a 6-foot dip a deer wouldn't notice, or skip a subtle bench because the lines barely spread. Always check the contour interval and count lines. A saddle needs enough depth, usually 15 feet or more of relief, for deer to prefer it over crossing anywhere else. Scale is the difference between a real funnel and wishful thinking.
Mistake 2: Hunting the Feature and Ignoring the Access
Finding the bench is the easy half. Most hunters then walk the ridgetop straight to it at 5:30 a.m., blow their thermals downhill across the bedding, and wonder why the spot is dead. Plan your access route with the same care you gave the feature. Low entries in the morning before thermals rise, high entries in the evening after they've lifted, and never cross the downwind side of where you expect deer to bed.
Mistake 3: Treating the Map as the Final Answer
The topo shows shape, not habitat. A perfect bench covered in open mature timber with no understory won't hold a bedded buck. Verify with the aerial layer, then verify on the ground in the offseason. The map builds your list of candidates. The ground makes the cut.
Advanced Application: Thermals, Aspect, and Camera Intel
Once the basic features are second nature, start reading aspect, meaning which direction a slope faces. South and west-facing slopes catch sun and hold early green-up and warm late-season bedding. North-facing slopes stay cool and shaded, which matters for early season and for elk. Then layer thermals onto the terrain: air slides downhill as it cools in the evening and pulls uphill as it warms in the morning. A leeward bench with morning thermals rising to it lets a buck cover the uphill wind with his nose and the downhill approach with rising thermal pull. Understanding that is how you beat a deer that seems unkillable.
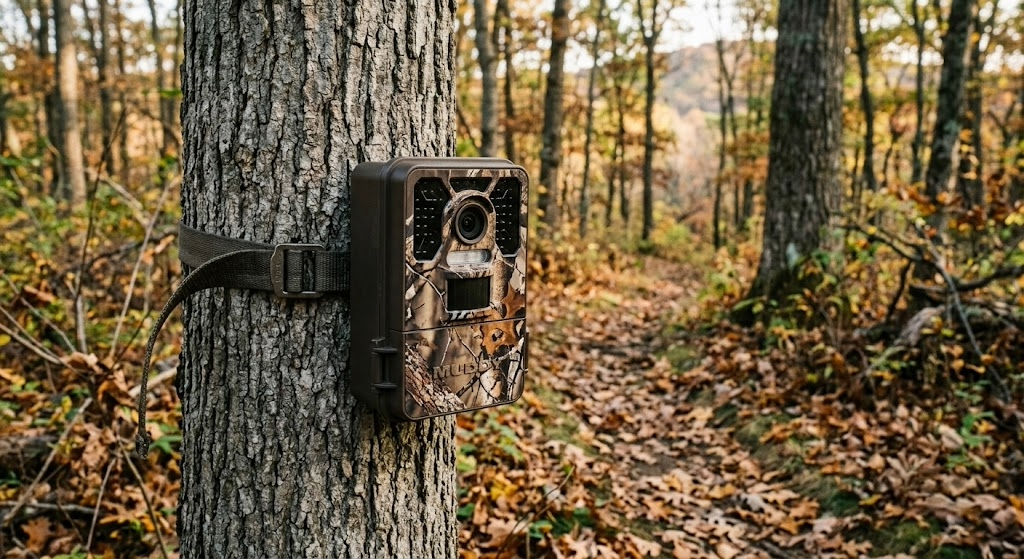
Terrain features are also the smartest places for camera intel, because they concentrate movement into a few yards of trail. I strap a Muddy Matrix 2.0 cellular camera on saddles and drainage crossings in July and let the terrain do the inventory work for me until October. If you want to compress the whole process, e-scouting for deer hunting walks through my full desktop workflow, and the Hunt Scout tool can flag benches, saddles, and pinch points on a property automatically so you spend your screen time verifying instead of searching.
Frequently Asked Questions
What do the lines on a topo map mean for deer hunting?
Each contour line marks a fixed elevation change. Tight lines mean steep slopes that block deer movement, and wide-spaced lines mean flat ground where deer bed and feed. The shapes matter most: hourglass pinches are saddles, spread lines on a slope are benches, and uphill-pointing Vs are drainages. All three concentrate deer travel.
What is the best terrain feature for deer hunting?
A saddle is the most consistent single feature because it funnels ridge-crossing deer into a narrow window, especially during the rut. The best stand sites stack features, like a saddle with a leeward bench just below it or a drainage crossing tight against a steep bank.
Do topo maps work for flat ground?
Yes, with a tight contour interval. In flat country, a 3 to 5-foot rise can be the only dry bedding in a marsh, and a shallow ditch can be the main travel corridor. Set your app to the smallest interval available and hunt the subtle stuff other hunters scroll past.
What contour interval should I use for deer hunting?
Use the tightest interval your map offers. A 10-foot interval reveals benches and subtle saddles that a 40-foot interval hides completely. In big western country, 40-foot intervals are fine for finding major features, but for whitetail ground, finer is better.
Terrain doesn't lie and it doesn't change. Learn to read it once and every new property gets easier for the rest of your hunting life. Pull up a topo of your best public spot tonight and find one feature you've never hunted.
Want the terrain features already marked for your state? Subscribe to the LandsToHunt email list and get our free state-by-state public land hunting guides, including the topo features we'd hunt first in every region.
This guide includes affiliate links to tools and gear we recommend for e-scouting and public land deer hunting. LandsToHunt.com earns a commission on qualifying purchases.
