E-Scouting for Deer Hunting: How to Find Bucks Before You Leave the House
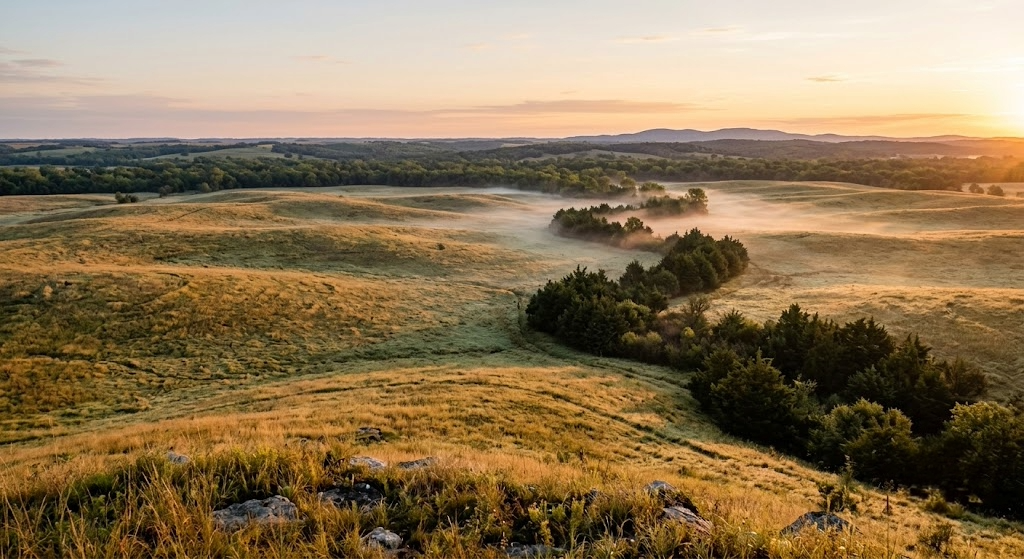
The best scouting I do all year happens in a desk chair in July with a glass of iced tea sweating next to the mouse. E-scouting for deer hunting means breaking down a property with satellite imagery, topo lines, and public land boundaries before you ever burn a boot mile. Done right, you show up to a parcel you've never seen with five or six marked spots, a wind plan for each one, and an access route already drawn. I've killed bucks in three states on ground I e-scouted from my kitchen table in Michigan, and the process has gotten sharper every year for the last decade.
E-Scouting for Deer Hunting: The Core Concept
Deer relate to two things visible from space: habitat edges and terrain. Satellite photos show you the edges, meaning the lines where timber meets crops, where cattails meet hardwoods, where a clearcut meets mature oaks. Topo lines show you the terrain that funnels movement between those edges. Stack the two layers, and you can predict where deer bed, feed, and travel with surprising accuracy.
The reason this works is simple. Deer don't use ground randomly. They bed where cover and terrain protect them, they feed where food is, and they travel the routes that connect the two with the least exposure and effort. Every one of those decisions leaves a signature you can read on a screen. E-scouting doesn't replace boots on the ground. What e-scouting does is tell you where your boots are worth putting, and that turns a 500-acre question into a 40-acre answer.
The E-Scouting Walkthrough, Step by Step
Step 1: Define the Ground Worth Scouting
Start with the public land layer in your mapping app and get honest about pressure. Look at parking areas first, not habitat. Most hunters won't walk more than half a mile from the truck, so draw a half-mile buffer around every access point in your head and treat everything inside as pressured. Now look for the ground that buffer misses: parcels with one bad access point, pieces cut off by a river or a cattail marsh, blocks where the walk-in is ugly. Ugly access is your friend. That's where the unpressured deer live.
Step 2: Read the Aerial for Habitat Edges
Switch to the satellite layer and hunt for texture changes. Young regrowth looks lumpy and tight. Mature timber looks smooth and open with big crowns. Conifers read darker than hardwoods, and in a leaf-off winter image, cedar thickets and pine pockets jump off the screen. Mark every spot where three or more cover types meet, because those corners concentrate deer activity the same way an intersection concentrates traffic. Pay special attention to the thick stuff nobody wants to walk through. A two-acre blackberry tangle in the middle of open hardwoods is a bedroom, full stop.
Step 3: Layer the Topo
Now turn on contour lines over the aerial and connect the cover to the terrain. Find the benches below ridgetops, the saddles between high points, and the drainages that give deer a low, hidden route between bedding and food. I wrote a full breakdown of this in How to read a topo map for deer hunting, and the short version is this: cover tells you where deer want to be, terrain tells you exactly how they get there. The hybrid view with both layers on at once is where e-scouting stops being guesswork.
Step 4: Flip Through Historical Imagery
This is the step most hunters skip and the one that separates good e-scouters from great ones. Pull up historical satellite images from different years and seasons. A leaf-off image from March shows you trails, oak flats, and bedding structure the summer canopy hides completely. An image from a wet spring shows you where water sits and which crossings stay dry. Compare a photo from eight years ago to today, and you'll spot clearcuts growing into prime bedding, fields that rotated out of crops, and timber harvests that changed the whole deer pattern on a property. Free tools like Google Earth Pro handle this well, and the USDA Web Soil Survey adds a layer most hunters never touch, showing you which soils grow the white oaks and quality browse worth marking.
Step 5: Mark Access and Wind Scenarios
Every spot you mark gets two more pieces of homework before you're done. First, draw the actual route you'd walk in, and be honest about the noise, the scent, and the eyes you'd cross getting there. A perfect funnel with no clean entry is a spot you'll ruin the first morning. Second, assign each spot a wind. Note the wind direction that puts your scent into dead space, and label the waypoint with it, something like "creek bench, NW wind only." When a front rolls through in November, you want to open the app and know in ten seconds which three spots are live.
Step 6: Build a Waypoint Hierarchy
Don't mark forty spots with the same pin. Build a hierarchy. I use one color for suspected bedding, one for travel funnels I'd hunt, one for access routes, and one for verification points, meaning things I need to confirm with my eyes like "is this oak flat producing acorns" or "is this crossing still active." Your map should read like a plan, not a sticker collection.
A Real Scenario: Kansas Walk-In Ground
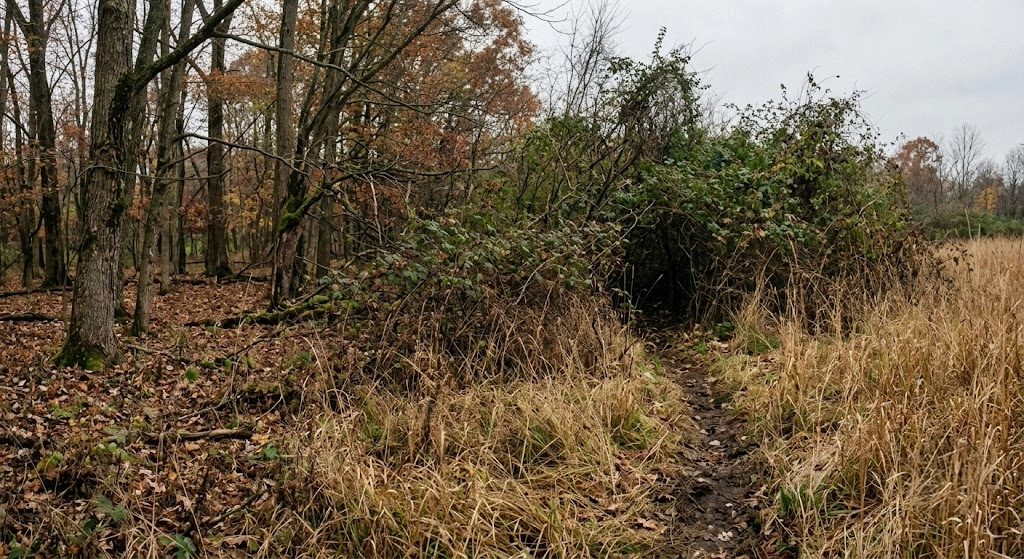
Two Novembers ago, a friend of mine drew a Kansas tag and we e-scouted walk-in hunting access parcels from home, 700 miles away. One 300-acre piece kept pulling us back to the screen. The aerial showed a cedar-choked draw running north off a creek bottom, splitting two big CRP fields, with cut milo across the fence to the west. The topo showed the draw necking down to about 60 yards wide where a finger ridge pinched against the creek. Historical leaf-off imagery from the previous winter showed a trail crossing right at that pinch. The parking access sat on the north end, so I figured every local would hunt the north half and the deer would stack up south near the creek.
First morning gave him a northwest wind at 8 to 12. He parked, looped a full mile east along a county road ditch, and came into the pinch from the southeast with the creek covering his noise and his scent blowing back over ground I'd already burned. He hung a saddle setup on the east edge of the neck in the dark. At 7:55, a doe came ripping through the pinch with a heavy 10-point 80 yards behind her, nose down. He passed at 18 yards. Never set foot on that property before that morning, and the whole plan came off a screen.
When E-Scouting for Deer Hunting Pays Off Most
E-scouting earns its biggest returns on new ground, out-of-state hunts, and big public tracts where walking everything isn't realistic. If you're hunting a 4,000-acre national forest block, screen time is the only way to shrink the problem to a huntable size.
By season, summer is the heavy-lifting window. June and July are when I build my waypoint hierarchies for fall, then verify the shortlist with quick, low-impact walks in late summer. During the season, e-scouting shifts to a nightly tool. Rut hunting rewards this most, because when a spot goes cold you can find the next funnel that fits tomorrow's wind and be in it at daylight. Weather plays in too. A cold front with a wind shift changes which of your marked spots are huntable, and a hard rain the night before is a green light to push into access routes that are normally too noisy.
The method transfers across species. The same edge-and-terrain reading finds elk benches in Colorado dark timber, turkey roosts along creek bottoms, and bear feeding on remote oak ridges. Deer are just where most of us first learn the craft of screen scouting.
Tools and Gear You Need
A mapping app with layers.onX Hunt Elite is my daily driver for the public land boundaries, hybrid topo view, and offline maps for dead-zone parcels. The knock is that historical imagery is limited, so pair the app with Google Earth Pro on desktop, which is free and has the full time-slider archive.
A real screen. Do your foundational work on a laptop or monitor. Phone screens are for in-field adjustments, not for breaking down 3,000 acres.
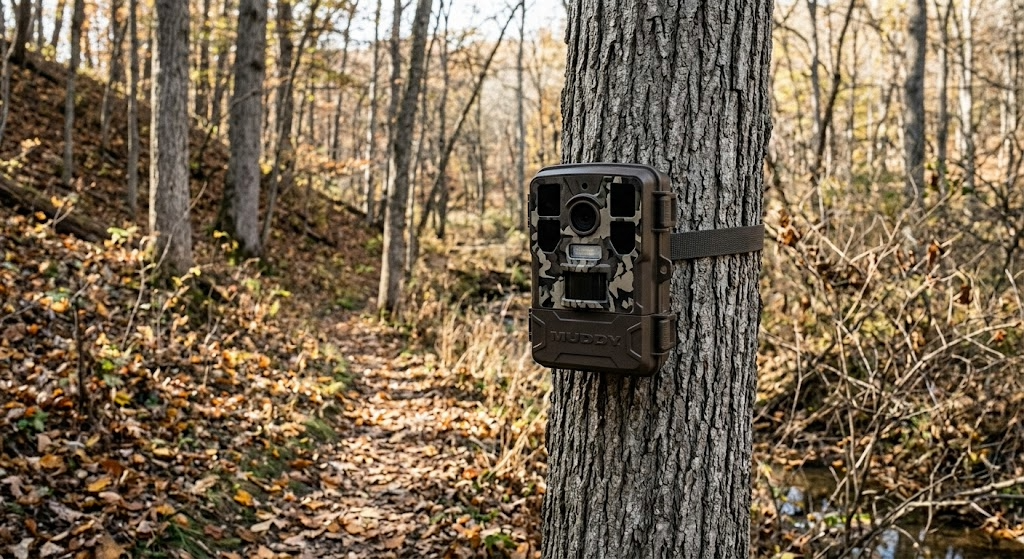
Cell cameras for remote verification. On ground I can't check often, I hang a Muddy Matrix 2.0 on the funnels my e-scouting flagged and let the camera confirm or kill the theory from home. Battery life takes a hit in cold snaps with heavy photo traffic, so run lithiums from October on.
Glass for the verification walk. The Vortex Diamondback HD 10x42 lets me confirm bedding edges and feeding sign from a distance without walking through the spot. Low-light performance trails the premium tiers, but for daytime verification work the value is hard to beat.
Clothing that handles long access walks. E-scouted spots tend to be the far ones. My full layering approach is in My KUIU Kit: What I Wear for Whitetail.
What Most Hunters Get Wrong
Mistake 1: Marking Deer Spots Instead of Kill Spots
New e-scouters pin the middle of the bedding thicket or the center of the food. Deer live there, sure, but you can't hunt there without blowing the place up. Mark the edges, the transitions, and the pinches between bedding and food where a deer is on his feet in daylight, and you can enter and exit clean. The question is never "where are the deer." The question is "where can I kill one without him knowing I exist?"
Mistake 2: Trusting One Summer Image
A single green-canopy satellite photo hides trails, terrain, water, and half the bedding structure on the property. Hunters mark spots off one image, drive four hours, and find a flooded bottom or a clearcut that wasn't in the picture. Always cross-check leaf-off imagery and at least two different years before a spot makes your shortlist.
Mistake 3: Skipping the In-Person Audit
E-scouting builds the hypothesis. Boots confirm the hypothesis. The hunters who struggle with this method treat waypoints like guarantees and hunt them blind for a week even when the sign says nobody's home. Verify fast, keep what the ground confirms, and drop the rest without emotion. I covered the full verification process in How to scout public land.
Advanced Application
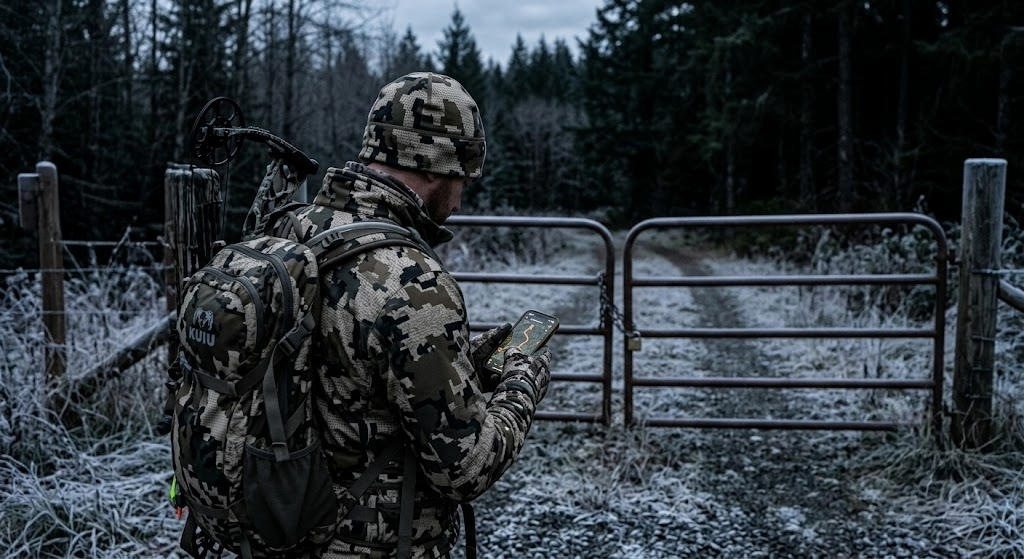
Once the basics are a habit, start scouting for hunters instead of just deer. Study parking areas on the satellite view, note the beaten paths worn from every lot, and build your plan around where that pressure pushes deer, not just where habitat says they should be. On heavily hunted ground, the best bedding on the property often sits empty while a mediocre thicket 200 yards from a spot no one can access holds the oldest buck around.
Layer in weather-based planning too. Build wind-specific spot lists before the season so a forecast becomes a lineup card, not a scramble. And if you want to compress the screen work itself, the Hunt Scout tool runs terrain analysis on a parcel and flags the benches, pinches, and edge intersections automatically, which turns your desktop session into verification instead of a blank-map search. For hunters evaluating ground at a serious level, that same stack of imagery, terrain, and pressure reading is the exact process I run, just faster.
Frequently Asked Questions
What is e-scouting for deer hunting?
E-scouting is the practice of scouting hunting ground digitally using satellite imagery, topographic maps, public land boundary layers, and historical photos before visiting in person. The goal is to identify likely bedding, travel routes, food, and access plans from a screen, then verify the best spots with a short, low-impact walk.
What is the best app for e-scouting deer?
onX Hunt is the most complete single app for public-land hunters because of its boundary data, hybrid topo view, and offline maps. Pair the app with Google Earth Pro on desktop for free historical imagery, which is the biggest gap in most mapping apps. HuntStand and Spartan Forge are well-reviewed alternatives worth comparing.
Can you really find deer without scouting in person?
You can find where deer should be, and that's most of the battle. Cover edges, terrain funnels, and pressure patterns are all visible from imagery, and hunters kill bucks every fall on first-visit ground using this method. In-person verification still matters for current sign, food conditions, and stand trees, so treat e-scouting as the first 80 percent, not the whole job.
When should you start e-scouting for deer season?
Start in early summer, June and July, when you have time to build waypoint lists and verify them before fall. Then keep the app open all season, because the fastest gains come from re-scouting on the fly when pressure, wind, or food conditions shift your original plan.
Every parcel you'll hunt this fall is sitting on a screen right now, waiting to be read. Pick one piece of public ground tonight, run the six steps, and walk in this October already knowing the place.
Ready to put screen scouting to work in your state? Subscribe to the LandsToHunt email list below and get our free state-by-state public land hunting guides, with the exact map layers and access tactics we'd use in each region.
This guide includes affiliate links to tools and gear we recommend for e-scouting and public land deer hunting. LandsToHunt.com earns a commission on qualifying purchases.
